 NexScrm官方博客
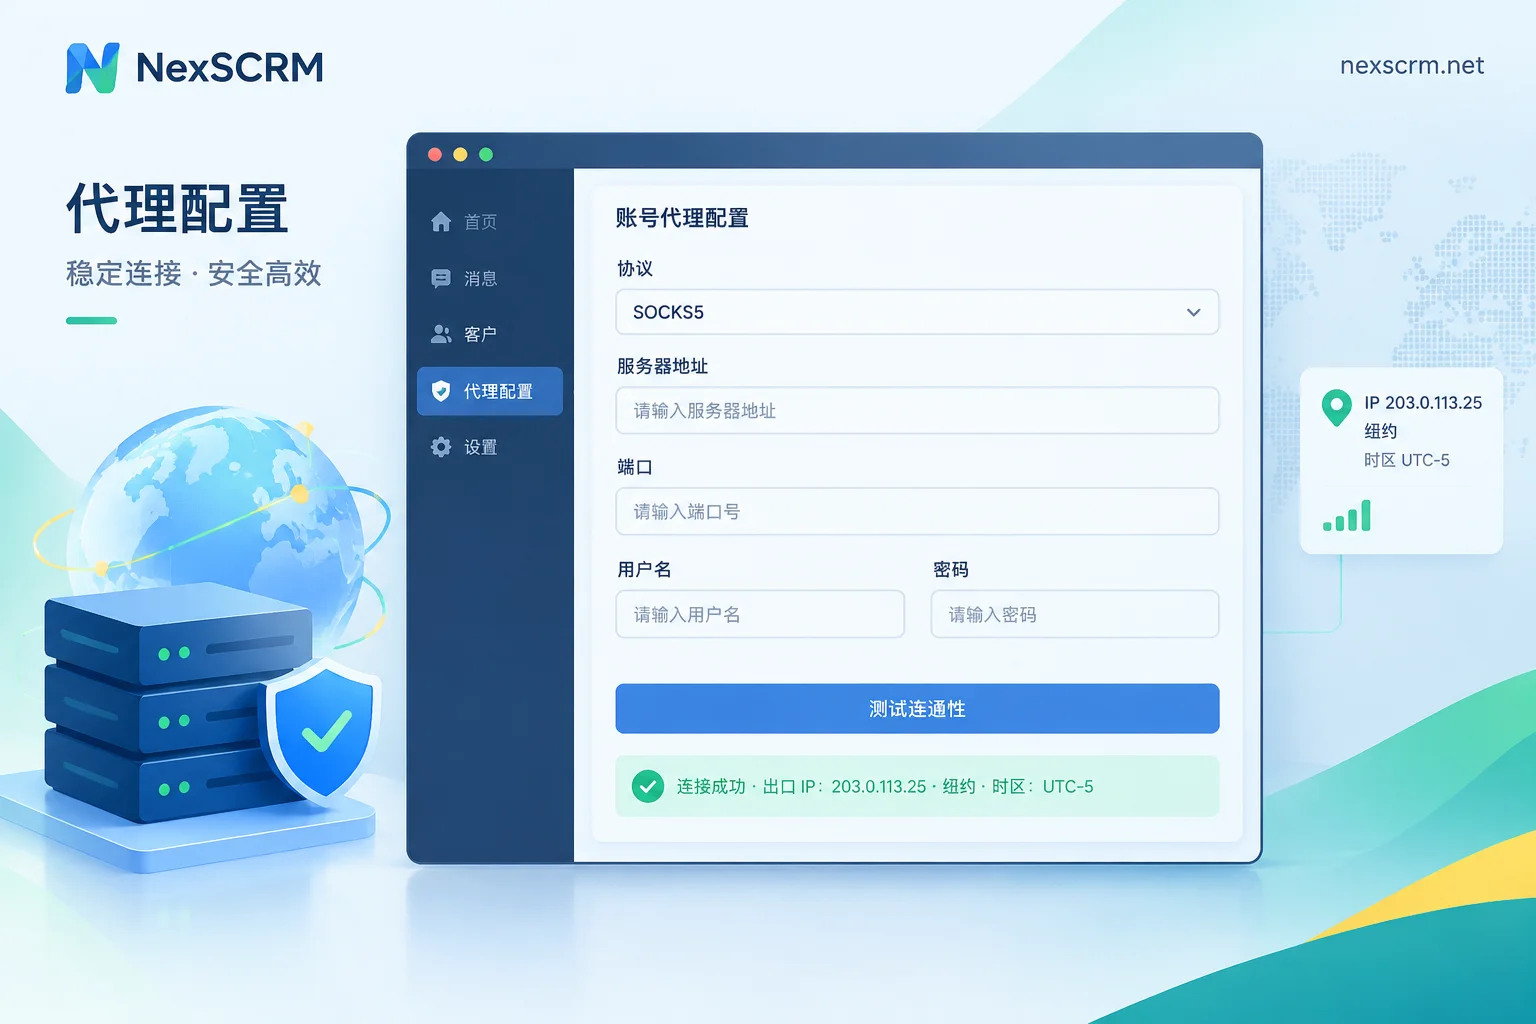
With seven or eight WhatsApp, Telegram, or LINE accounts on hand, you want them running on the same computer without interfering with each other. The approach: prepare a dedicated static residential IP for each account, enter the four parameters—protocol, host, port, and authentication—into that account's own environment settings, test connectivity and verify the exit location, then save so that all send/receive requests for that account are locked to that proxy chain.
The real problems aren't in filling out the parameters. They're two things: two accounts accidentally sharing the same exit, and changing only the IP without changing the local environment. Here's the operational sequence.
Get the Four Parameters Ready
No matter which tool you use, you need the same set of information:
- Protocol: HTTP, HTTPS, or SOCKS5—determined by the provider, not something you can change.
- Server address: an IP or a domain provided by the provider.
- Port: different ports on the same server often correspond to different protocols or exit locations, so don't mix them up.
- Authentication: either a username/password pair, or whitelist your local public IP in the provider's dashboard for passwordless connections.
Some providers give you a single socks5://用户名:密码@主机:端口 string; others require you to fill in fields separately—the content is the same.
Here's a common pitfall: whitelist authentication only works for fixed office networks. If the office broadband's public IP changes, or you go home or travel and switch networks, the whitelist immediately fails and all accounts bound to that proxy can't connect simultaneously. If you often work from different locations, username/password authentication is more convenient.
Prefer SOCKS5 for Social Clients
If the provider offers both HTTPS and SOCKS5 ports, choose SOCKS5 for social scenarios. The reason: it supports both TCP and UDP channels, directly forwarding end-to-end session packets, making it more stable than plain HTTP proxies for maintaining long connections, sending/receiving files, and handling voice and video calls.
Instant messaging clients are typical long-connection applications—staying online all day, with images, documents, and voice messages interspersed. HTTP proxies usually handle plain text fine, but when a customer calls or sends a file tens of megabytes in size, stuttering and drops become more likely. If the provider only gives an HTTP port, ask if SOCKS5 is available.
IP Type: Static Residential, One per Account
Three hard rules:
Don't use datacenter IPs. Datacenter IP ranges are easily recognized and tagged as datacenter by social platforms. A normal customer wouldn't log into a chat app from a server farm.
Don't use dynamic IPs that change frequently. If the account logs in from New York today and Frankfurt tomorrow, that's a risk signal in itself. You want long-term fixed ones.
Don't let two accounts share one exit. This is the most direct association factor—stronger than fingerprint similarity. One account, one IP, no exceptions.
Also, the IP's geo-location should ideally match the account's phone number country and your target market. An account serving Brazilian customers but exiting from Japan isn't unusable, but it doesn't match other account info.
The procurement and quality of proxy IPs fall on the proxy provider side (handled by NexIP for us). Below, we only cover how to bind once you have the IP.
Four Steps to Bind
In a multi-account workspace or environment management tool, the process is basically the same:
- Create or edit this account's card/environment. First confirm you're editing the correct one—don't put account A's proxy on account B.
- Open the proxy settings panel. Select the protocol, then enter host, port, username, and password. For whitelist authentication, leave the auth fields blank and add your local exit IP in the provider's dashboard first.
- Click Test Connectivity and wait for the result. The test isn't just about whether it connects—check which exit IP it returns and which city it's in.
- Save and confirm lock-in. After saving, all network requests for this account session should go through this proxy, not just part of them.
Then go back to step one and configure the next account. When you have many, maintain a table mapping "account—IP—port—location" for troubleshooting, renewals, and handovers later.
A Passed Test Doesn't Mean It's Configured
A green connectivity test only means the proxy works. Three more things to check:
Is the exit IP the one the provider promised? Some shared plans have actual exits that differ from advertised ones; test panels or third-party IP lookup pages can reveal this.
Have timezone and language been adjusted accordingly? IP shows Madrid but system timezone is UTC+8—this contradictory combo is more conspicuous than a simple IP issue.
Are there DNS or WebRTC leaks? This is the most overlooked item: the proxy is active, but DNS queries still go through the local ISP, or WebRTC exposes the real internal and public addresses, so all accounts still point to the same machine in the platform's eyes. Run a leak test before going live.
Proxies Alone Aren't Enough: Isolate the Environment Too
Once the network layer is isolated, the local layer needs to follow. If cookies, local cache, timezone, language, fonts, and WebRTC parameters are all shared across accounts, platforms can still link them. So the standard practice is isolated fingerprint environment + isolated proxy—do both; miss one and you waste the money on the other.
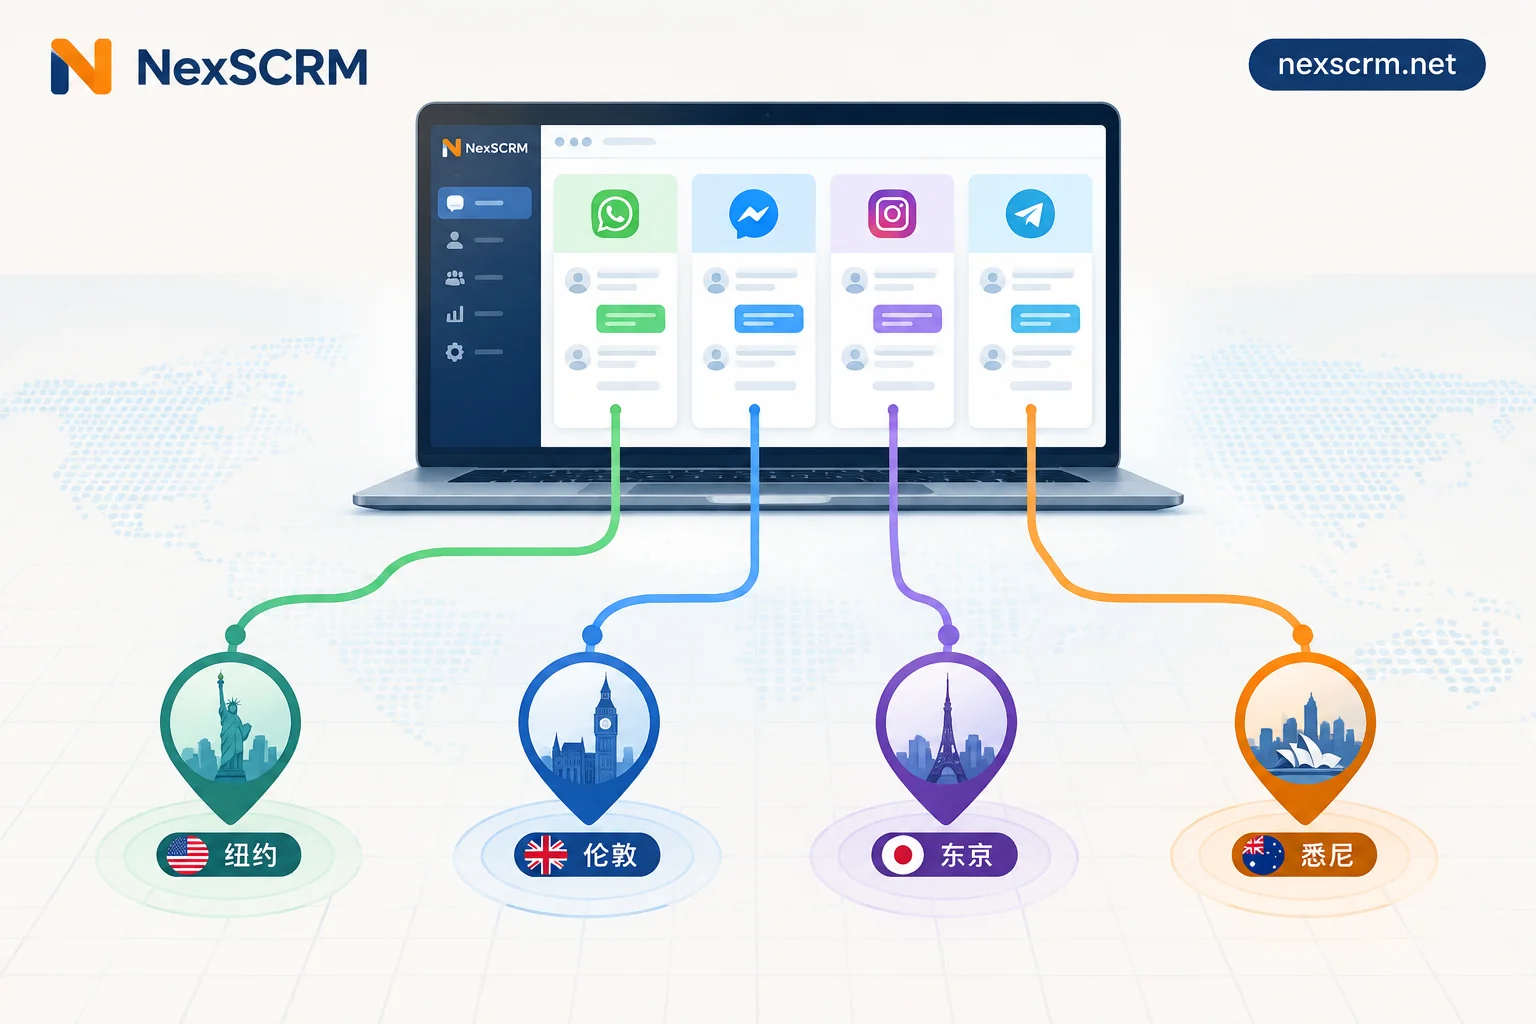
Specifically for chat workstations, pay attention to which level the proxy is bound at. If a tool only supports global proxy, then one computer can only have one exit at a time, and multiple accounts will inevitably share it. What you need is a session-level proxy—bound to the account session, not the entire machine. NexSCRM's multi-account aggregation is built on this idea: each account has its own independent fingerprint environment, proxies are bound per session, and multiple accounts log in simultaneously on one Windows machine, each using its own chain—no need for multiple virtual machines or browser environments for isolation.
Billing is per port, and one port corresponds to one simultaneously online account, so estimate how many ports you need based on your account count before configuring. You can start with a free trial to run one account from proxy binding to normal send/receive, confirm the chain works, then configure the rest in bulk.
Once accounts are bound, set up auto-replies and welcome messages uniformly before starting work. For details, see How to Set Up Keyword Auto-Replies and Welcome Messages.
Common Situations After Configuration
Proxy goes down. Symptoms are usually: messages won't send, spinning endlessly, or the client prompts to log in again. At this point, test the proxy first—don't rush to re-login. Logging back in through a dead proxy means logging into the account with your real local IP—that's the truly risky move. Wait until the proxy recovers.
Need to change IP. Try to switch to an IP in the same city, same ISP, and similar subnet—don't jump across countries. Also watch renewals: when a plan expires and the IP is reclaimed and reassigned, that's the same as proactively changing IPs.
Account handover or computer switch. The environment and proxy should travel with the account. When a new colleague takes over, they should use the same IP and the same environment parameters—not create a new one on their own computer. Retrieve past conversations via cloud backup so customers don't have to repeat their requests. For search methods, see How to Search Historical Messages by Keyword in Chat Logs.
Finally, one area with no standard answer: platforms differ in their tolerance for proxy latency and timeout disconnections, and there are no public figures. The same IP might work fine for Telegram but frequently drop for WhatsApp. After launching a new chain, observe for a day or two and replace the unstable one—much easier than fixing problems afterward.


Comments(0)